
Understanding the process of epoxy floor installation can offer valuable insights into its benefits and why it might be a great option for your space. This durable flooring solution involves a multi-step approach that ensures each layer bonds correctly, resulting in a strong and resilient surface. Knowing what to expect can help you appreciate the craftsmanship behind a high-quality epoxy floor. Choosing the right installer in Utah can significantly affect the success of your project. An experienced professional familiar with the local climate and building standards can ensure the installation is timely, efficient, and up to code. Understanding these nuances is essential for achieving the best results.
Preparing for Epoxy Floor Installation
Before any epoxy floor can be installed, proper preparation is vital to ensure a smooth and reliable finish. Here are some key steps involved in the preparation phase:
– Surface Cleaning: The floor must be thoroughly cleaned to remove dirt, grease, and other contaminants that could affect adhesion.
– Repair Any Damage: Cracks and defects in the existing floor should be repaired to ensure a smooth surface for the epoxy application.
– Floor Grinding or Shot Blasting: To create a textured surface for better adhesion, the floor is roughened using grinding or shot blasting techniques.
Choosing the right time for installation is also important. Consider the weather and your facility’s usage schedule when planning the installation. Cooler temperatures or increased humidity can affect the curing time, so it’s wise to schedule installation during a period of stable weather conditions. Planning around the facility’s downtime—such as weekends or holidays—can minimize disruption to regular activities, ensuring the process is as seamless as possible.
Proper preparation and timing set the stage for a successful installation, creating a foundation that enhances the durability and longevity of the epoxy floor. Attention to these elements ensures that the finished product not only looks good but performs to the highest standards.
Steps in the Epoxy Floor Installation Process
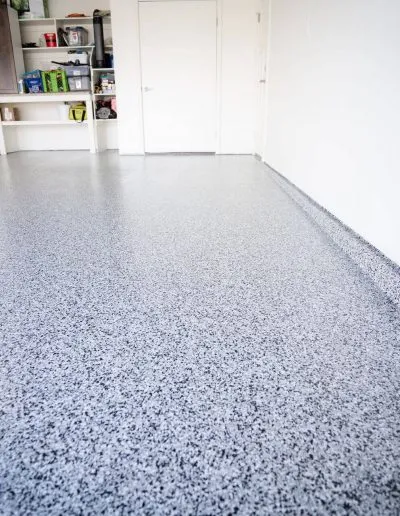
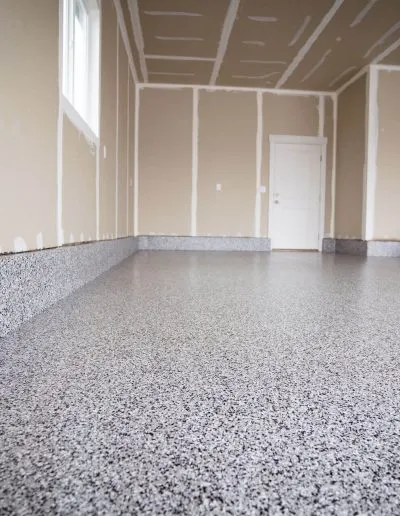
The installation of an epoxy floor is a step-by-step process that demands precision and attention to detail. It begins with applying a primer layer, which ensures that the epoxy adheres well to the surface. This stage is comparable to prepping a canvas before painting. After the primer is applied, the base coat follows, providing the initial color and aesthetic foundation. This layer is key to achieving the desired look and it sets the stage for subsequent layers.
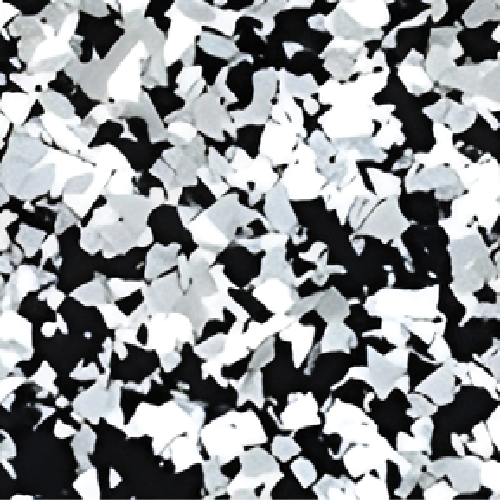
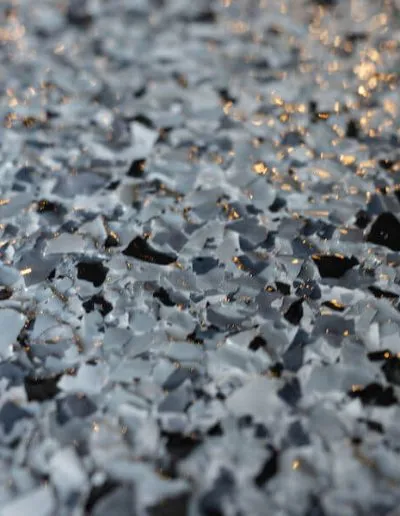
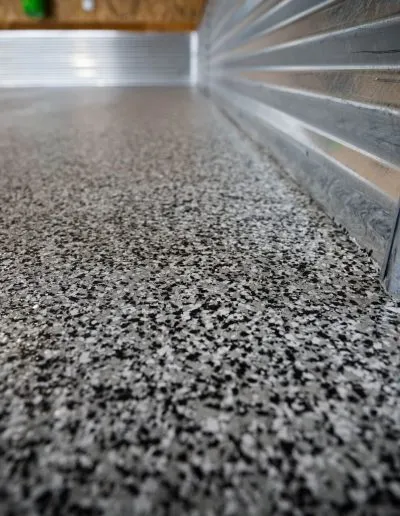
Following the base coat, decorative chips or colored pigments can be added to enhance the appearance. These additions aren’t just for show—they also contribute to the floor’s slip resistance by adding texture. The final step involves applying a topcoat, which seals everything together and provides durability. This coat protects the floor from scratches, chemicals, and foot traffic, ensuring that the floor remains pristine and performs optimally for years to come.
Each layer has a purpose and works collectively to deliver a floor that’s as beautiful as it is strong. The whole process highlights the craftsmanship involved and why choosing a skilled installer can make all the difference.
Addressing Common Challenges
During the installation, certain challenges might pop up, and knowing how professionals tackle them can be reassuring. One common issue is moisture; if moisture gets trapped beneath the epoxy, it could cause bubbles or weak spots. Professionals often use moisture meters to check for dampness before starting, ensuring the surface is dry and ready for the application.
Another possible hurdle is uneven surfaces. If the substrate isn’t smooth, the epoxy might not adhere well or cure evenly. Professionals use leveling compounds to address these issues ahead of time, ensuring a smooth and flawless finish. These challenges illustrate the underlying complexity of the task, showcasing why an experienced Utah epoxy installer is crucial for a successful outcome.
Keep Your Epoxy Floor in Top Shape
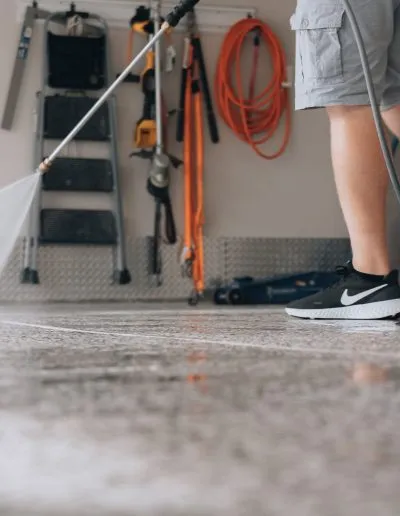
Once your epoxy floor is installed, taking good care of it will help maintain its appearance and functionality. Initially, it’s best to avoid heavy foot traffic for at least a day to allow the floor to cure completely. During this period, refrain from moving heavy objects across the surface.
Regular cleaning is simple but effective. Use a soft broom or a mop with a mild cleaner to keep the floor looking its best. Avoid using abrasive cleaners or scrubbers that could scratch the surface. A gentle approach will preserve the glossy finish and keep the floor looking new for as long as possible.
By keeping these care tips in mind, you ensure that the epoxy floor continues to be a reliable and attractive part of your space. With a little effort, it can stay in excellent condition, reflecting both practicality and style.
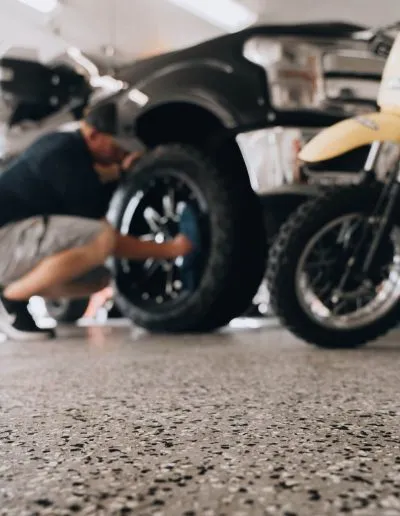
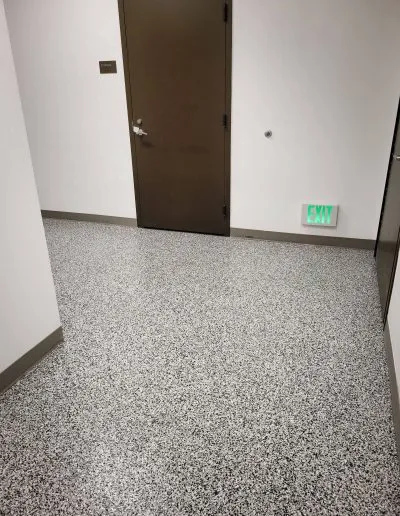
If you’re looking to upgrade your facility with sleek, long-lasting flooring, working with knowledgeable professionals makes all the difference. Steel Coated Floors delivers customized solutions designed for durability and style. Learn how our experienced Utah epoxy floor installers can help enhance your space and ensure a flawless installation from start to finish.
