Epoxy Failures
Epoxy floor failures are common—but most of them are preventable and, more importantly, repairable if you approach the job correctly. The biggest mistake people make is trying to “patch” a failed coating without addressing why it failed in the first place. If you don’t fix the root cause, the new coating will fail just as quickly.
Here’s a practical, contractor-level guide to repairing failed epoxy the right way.
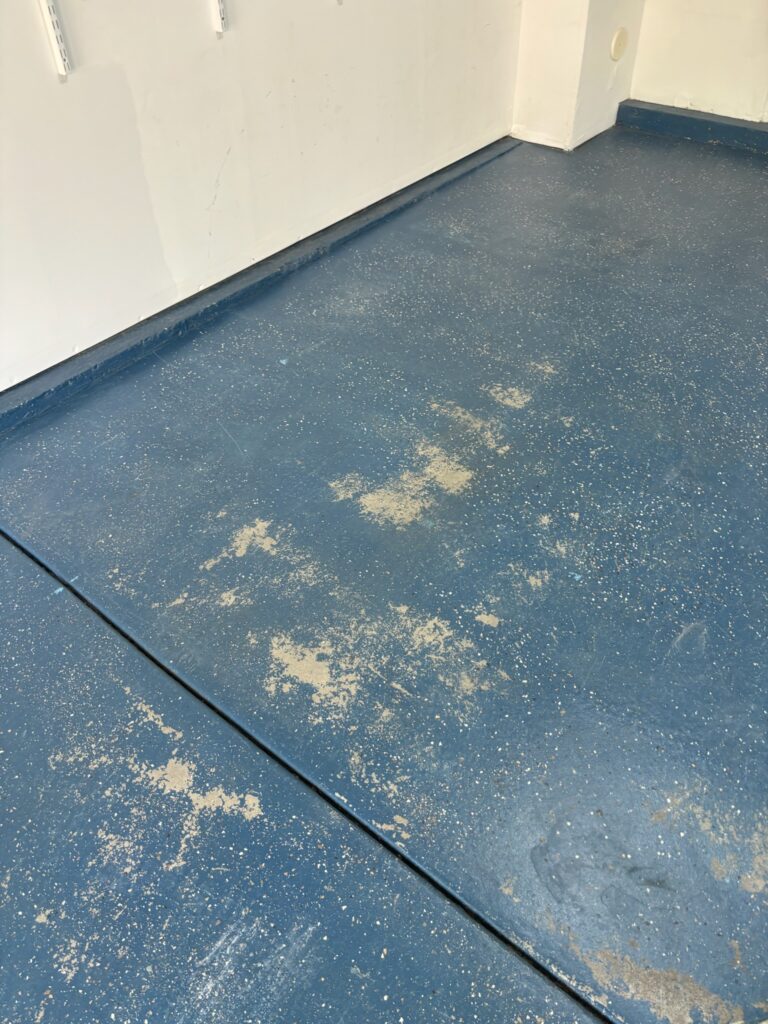
What Does “Failed Epoxy” Look Like?
Before you repair anything, you need to correctly diagnose the failure. Common signs include:
- Peeling or delamination (coating lifts off concrete)
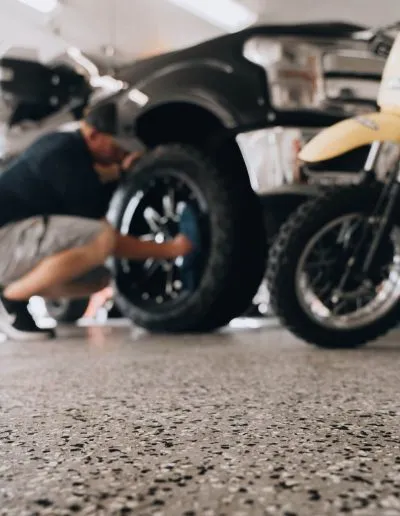
- Hot tire pickup (epoxy sticks to tires and pulls up)
- Bubbling or blistering
- Discoloration or yellowing
- Cracking or flaking
Each of these points to a different underlying issue—but most trace back to poor surface prep or moisture problems.
Step 1: Identify the Cause of Failure
This step separates a long-lasting repair from a temporary fix.
Common Causes:
- Poor surface preparation (most common)
- Moisture vapor transmission from the slab
- Oil or contaminant saturation
- Incorrect product used (DIY kits vs industrial-grade)
- Improper mixing or application conditions
Step 2: Remove the Failed Coating
There’s no shortcut here—failed epoxy must be fully removed.
Best Methods:
1. Diamond Grinding (Preferred)
- Uses a planetary grinder with diamond tooling
- Removes epoxy and opens concrete pores
- Creates the ideal surface profile (CSP-2 to CSP-3)
2. Shot Blasting (Alternative)
- Good for large commercial areas
- Leaves a consistent profile
- Less effective for thick or soft coatings
Step 3: Repair the Concrete
Once the coating is removed, you’re working with bare concrete again—and it often needs repair.
Common Repairs:
- Cracks: Fill with polyurea or epoxy crack filler
- Spalling or pitting: Use a patching compound
- Control joints: Decide whether to fill or honor them
Grind repaired areas flush after curing to maintain a smooth surface.
Step 6: Apply a High-Quality Coating System
This is where many repairs go wrong—they reinstall the same low-quality system that failed.
Recommended System Structure:
- Primer coat
- Helps penetration and adhesion
- Can act as moisture barrier if needed
- Base coat
- 100% solids epoxy or polyurea
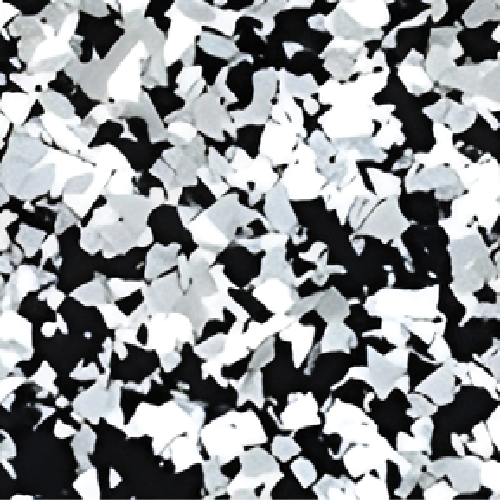
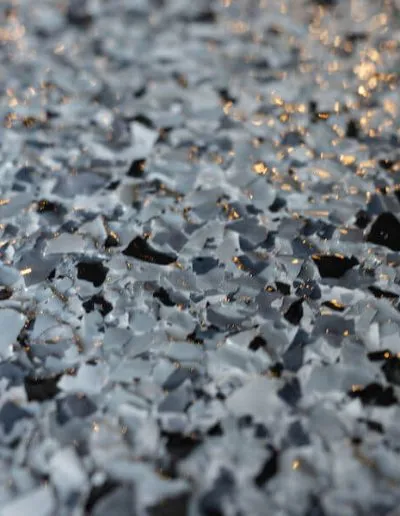
- Broadcast flakes if doing a decorative system
- Scrape and vacuum flakes
- Topcoat
- Polyaspartic or urethane for durability and UV resistance
Pro Tips:
- Don’t use big-box store kits—they’re typically water-based and thin
- Follow mix ratios exactly
- Watch temperature and humidity during install
When a Full Replacement Is Better Than Repair
Sometimes repair isn’t worth it. Consider a full redo if:
- More than 30–40% of the floor has failed
- There’s widespread moisture damage
- The original coating is very thick or improperly layered
Trying to “blend” repairs into a failing system usually wastes time and money.
Final Thoughts
Repairing failed epoxy isn’t about applying more epoxy—it’s about correcting the conditions that caused the failure. Surface prep, moisture control, and product quality are what determine whether your repair lasts 2 years or 20.
Steel Coated Floors has been coating garage floors, as well as commercial and industrial floors for 30 years, they are a national company with local ownership. 30% of our business is dealing with failures caused by improper installation the first time by other contractors or DIY jobs. You can learn more by visiting their website https://scfsouthvalley.com/
